File prep
What file format should I use for printing?
We recommend PDF, TIFF, AI (Adobe Illustrator), or EPS files. These formats preserve the highest quality and ensure fonts and images remain intact. Avoid JPEG and PNG for large-format prints as they may lose detail.
What color mode should my file be in?
Always prepare your files in CMYK color mode for accurate color reproduction. RGB colors may appear different when printed. If your file is in RGB, convert it to CMYK before submitting.
Do I need to outline my fonts?
Yes, convert all text to outlines or embed your fonts. This ensures there are no font substitutions when we open your file. In Adobe Illustrator, select text and use the "Create Outlines" option.
What file specifications should I follow for large-format prints (banners, signs, vehicle wraps, etc.)?
For banners, outdoor signage, and posters, create your file at full size at 150 DPI or at half size at 300 DPI. Keep text and critical design elements at least 2 inches from the edges to prevent trimming issues.
What is the best resolution for large outdoor signage?
For large outdoor signage, 72-150 DPI at full size is usually sufficient, as they are viewed from a distance. If working at a reduced scale (e.g., 1:10), maintain a higher DPI (300-600 DPI) to preserve detail when scaled up.
Paper
Options
Choosing the right paper can make a significant impact on the final look and feel of a printed piece. The weight, finish, and texture of a paper determine its durability, printability, and intended use. Here’s a breakdown of different paper options and when to use them:
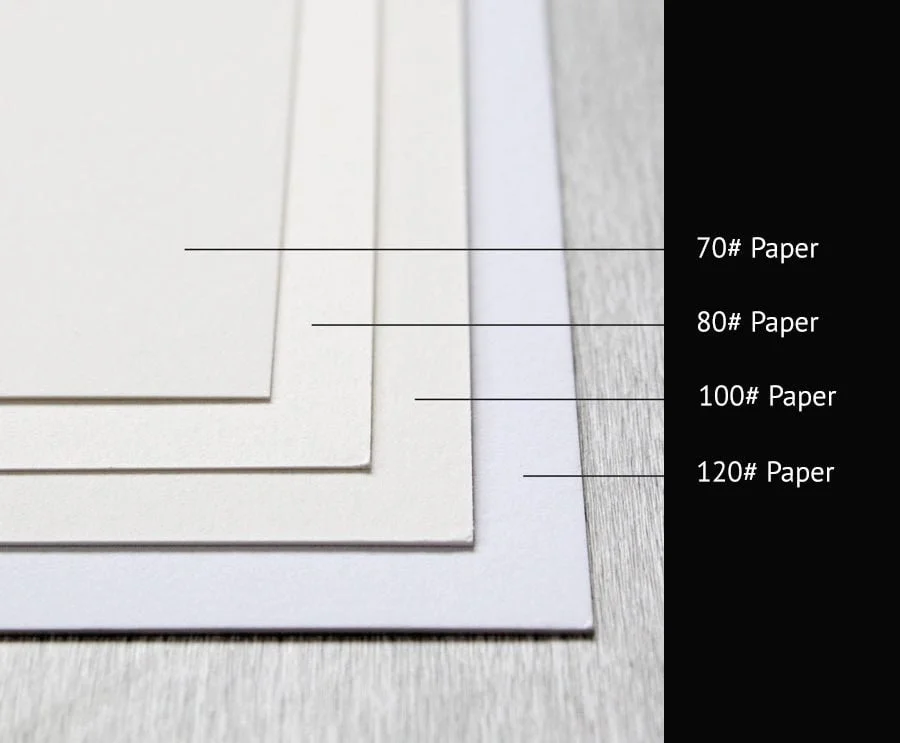
Paper Weights: Light, Medium, and Heavy
Text Weight (50lb – 100lb): Light and flexible, similar to high-quality magazine or brochure pages. Ideal for flyers, newsletters, and letterhead where easy handling is important.
Cover Weight (80lb – 130lb): Sturdier and more rigid, used for business cards, postcards, and book covers. Heavier cover stock adds a premium feel to any project.
Cardstock (100lb+): Thick and durable, excellent for greeting cards, signage, and high-end invitations.
Coated vs. Uncoated Paper
Coated Paper (Gloss, Satin, or Matte):
Gloss coatings enhance colors and images, making them vibrant and sharp—perfect for catalogs, posters, and high-end photography prints.
Satin and matte coatings offer a refined look without excessive shine, often chosen for elegant brochures and premium business cards.
Uncoated Paper:
Absorbs ink more than coated paper, giving a softer, natural finish. Great for writing-heavy projects like letterhead, journals, or notepads.
Works well for pieces that require a tactile feel, such as invitations, art prints, and eco-friendly packaging.
Specialty Paper Textures
Linen: Lightly embossed texture that adds sophistication to business stationery, wedding invitations, and luxury menus.
Laid: Vintage, handcrafted look with subtle horizontal lines, often used for high-end certificates and letterpress prints.
Vellum: A translucent, delicate paper used for overlays on invitations or artistic projects.
Recycled & Kraft Paper: Textured, eco-friendly choice for branding that emphasizes sustainability, commonly used in packaging and organic product marketing.
Embellishment
Adding embellishments to your printed materials can enhance their visual appeal, create a memorable tactile experience, and increase the perceived value of your brand. Whether you're producing business cards, invitations, packaging, or promotional materials, the right finishing technique can make your design stand out. Below are some of the most popular embellishment options and how they can be used effectively.
1. Foil Stamping
What It Is: A thin layer of metallic or pigmented foil is heat-pressed onto the paper to create a reflective, eye-catching effect.
Best Uses: Luxury business cards, wedding invitations, high-end packaging, book covers, and certificates.
Popular Choices: Gold, silver, rose gold, holographic, and matte foils add elegance and contrast against darker paper stocks.
2. Spot UV Coating
What It Is: A high-gloss, raised coating applied to specific areas of a design to create contrast between matte and shiny finishes.
Best Uses: Business cards, brochures, postcards, and packaging where highlighting logos, images, or text enhances the visual impact.
Pro Tip: Use Spot UV over dark, matte-coated paper for a striking, high-end contrast.
3. Embossing & Debossing
What It Is:
Embossing: Raises elements of the design, creating a three-dimensional effect.
Debossing: Presses elements into the paper for a recessed look.
Best Uses: Business cards, letterheads, luxury packaging, and wedding stationery.
Pro Tip: Pair embossing with foil stamping for an ultra-premium, tactile experience.
4. Die-Cutting
What It Is: A process that cuts custom shapes out of paper or cardstock for unique designs beyond standard rectangles and squares.
Best Uses: Custom-shaped business cards, hang tags, packaging, invitations, and windowed folders.
Pro Tip: Combine die-cutting with Spot UV or foil stamping for an interactive and unforgettable design.
5. Soft-Touch & Velvet Lamination
What It Is: A matte lamination that creates a smooth, suede-like texture, enhancing the tactile experience.
Best Uses: Business cards, high-end packaging, premium brochures, and book covers.
Pro Tip: Soft-touch lamination works beautifully with foil stamping or Spot UV for an elegant contrast.
6. Letterpress Printing
What It Is: A traditional printing technique that presses inked designs into thick, textured paper for a deep impression.
Best Uses: Wedding invitations, luxury business cards, and stationery that requires an artisanal touch.
Pro Tip: Pair letterpress with handmade or cotton-based paper for a timeless, elegant feel.
8. Raised Ink (Thermography)
What It Is: A heat-based process that creates a raised, glossy texture over printed text or designs.
Best Uses: Business cards, letterheads, wedding invitations, and greeting cards.
Pro Tip: Raised ink mimics the look of embossing but is more cost-effective for larger runs.
What resolution is best for print?
For standard print jobs, files should be at 300 DPI at the final print size. For large-format printing (banners, vehicle wraps, billboards, etc.), a resolution of 150 DPI at full size is typically sufficient, as the viewing distance is greater.
How much bleed should I include?
For standard prints, include 0.125 inches (1/8 inch) bleed on all sides. For large format prints (banners, signage, vehicle wraps), we typically recommend 0.5 inches to 1 inch of bleed to allow for trimming and finishing.
How do I ensure my blacks print correctly?
For a deep, rich black in full-color printing, use C: 60%, M: 40%, Y: 40%, K: 100%. For text and small details, use 100% black (K:100%) to avoid misalignment issues.
What should I consider when designing a vehicle wrap?
Work with vector files whenever possible (AI, EPS, or PDF) for crisp graphics.
Use a template for the specific make and model of the vehicle.
Allow for a bleed of at least 2 inches beyond the cut lines.
Convert all fonts to outlines to prevent font issues.
Avoid small text and fine details, as the curvature of vehicles can distort small elements.
How do I prepare a file for backlit signage?
For lightbox signs and backlit displays, create the design at 200 DPI at final size. Use richer colors and increased contrast to compensate for the light source behind the print. Adding an extra layer of white ink in print production can also improve vibrancy and legibility.